You're going to have to replace the lead screws on your brake lathe from time to time or maybe it's time to upgrade it to a larger size. That's what we're going to explain in this article.
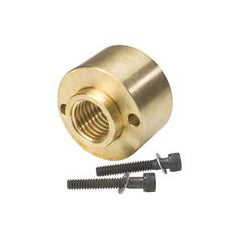
First, let's identify the types of Rotor Lead Screw Bushings – Early, Late and Extended.
 |
 |
 |
|
Early Model Rotor Feed Bushing Order No. GT-10868 |
Late Model Rotor Feed Bushing Order No. GT-10868X |
Extended Lead Screw Bushing Order No. LSB-78529 |
We are showing this procedure on the Ammco 4000 Lathe for two reasons.
- It's what we have in our shop and
- It's the most popular brake lathe out there.
Before we get into the nitty-gritty of removing the existing lead screw bushing, let's cover a few basic safety issues.
- Disconnect your brake lathe from its power source. You don't want someone bumping a switch and turning it on while your hand is inside the works.
- Safety glasses or goggles. It might seem like overkill, but it's better to be safe than sorry. After all, dressing as a pirate for Halloween every year is not all it's cracked up to be.
- Gather your tools and place them in an easily accessible place so you're not fumbling around looking for the correct tool for the brake lathe.
 |
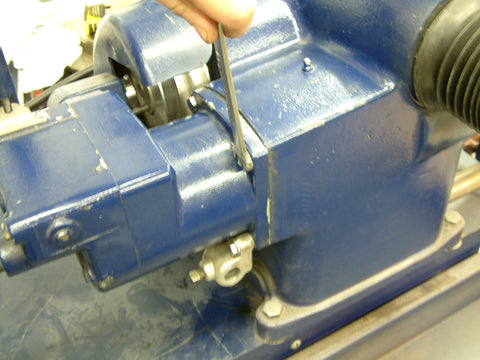
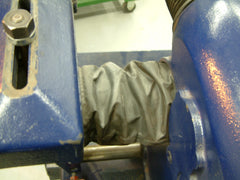
Step OneRemove the factory Silencer Pad Assembly by removing the square head set screw. Put the assembly aside. |
 |
Step Two
|
 |
Step 3
|
 |
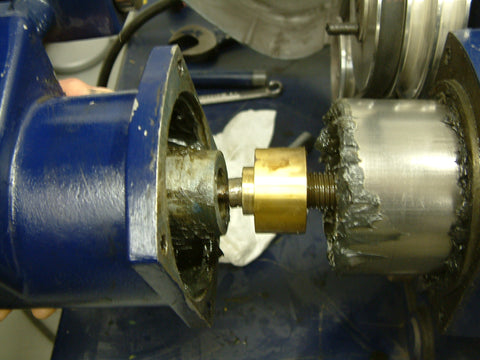
Step FourNow it's time to push the rotor feed assembly forward. Be sure to support the gearbox assembly. This will give you access to the brass feed nut. NOTE: Your feed bushing may look different than pictured in step five. The one shown there is the extended version. |
 |
Step FiveRemove the two (2) Allen bolts holding the feed bushing to the housing. |
 |
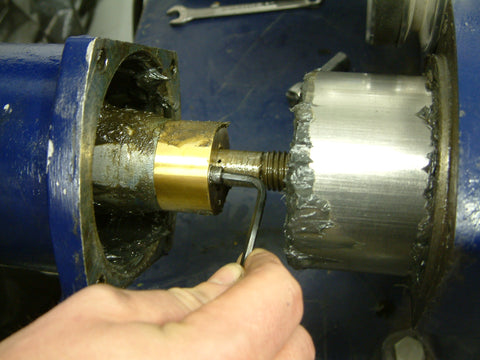
Step SixPull the feed bushing free of the gearbox housing and push it forward against the feed screw threads. You will now have access to the roll pin in the shaft. |
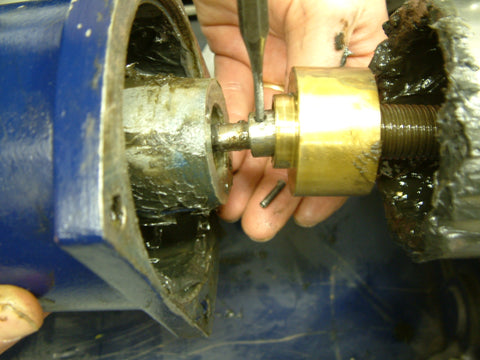 |
Step SevenGently drive the roll pin out of the shaft. Be sure to support the shaft on the underside so you don't damage the feed screw. |
 |
Step EightThe gearbox assembly will now come off in your hands. |
 |
Step NineYou can now remove the rotor feed bushing. Before installing the new feed bushing, inspect the rotor feed screw and threads for any damage. Replace as necessary. To install a new feed bushing, simply reverse steps one through nine. |
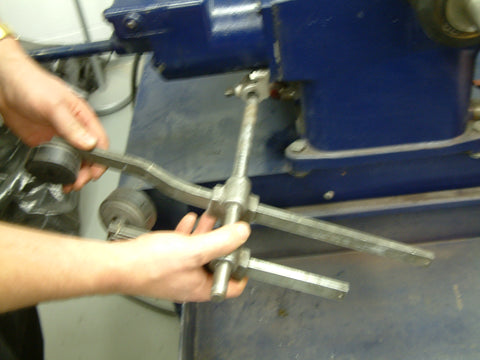
 Rotate the Rotor Feed Assembly all the way out by turning it counter clockwise.
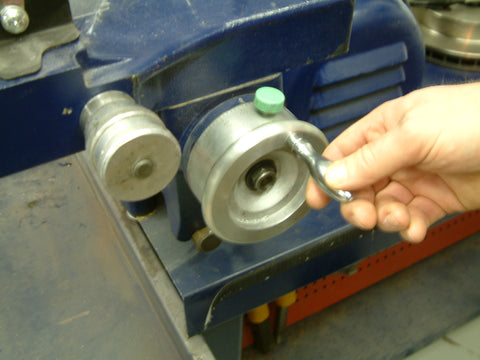
  Remove the four (4) bolts holding the gearbox assembly in place. You may need to use a thin wall socket on the bottom bolts as a wrench will not fit (see right).
As always, if you have a question about this or any other technical issue, contact the Goodson Techxperts by phone (1-800-533-8010) or email.